Photo by Karolina Grabowska from Pexels
It’s easy to put a bouquet into a vase, but if you want them to look like a beautiful centrepiece in your space arranged by an expert, it needs a little bit of thought and technique. You would also want your arrangement to last longer.
The good news is it’s fairly easy to learn the basics of arranging your flowers like a pro at home. For sure, you’ll have fun doing it eventually and create your own arrangements. Read on and learn this step-by-step guide to create your own soon!
Step #1: Conceptualise your design
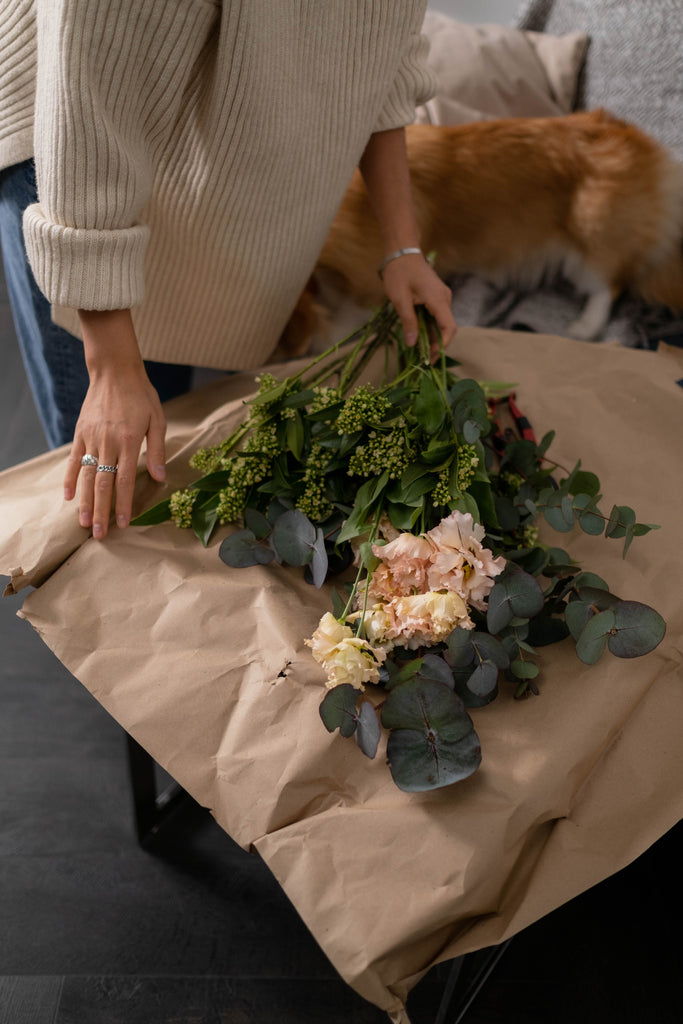
Photo by Ron Lach from Pexels
When conceptualising your flower design, take note of the following: your focal flower, filler flowers, and your greenery base.
- Focal flowers are the anchor of the design and carry more visual weight
- Filler flowers are smaller flowers that support the focal flowers.
- Greenery base helps create the overall shape to build the arrangement.
Step #2: Flower Preparation

Photo by Karolina Grabowska from Pexels
Once you have decided on the flowers, you need to take some steps to make them look and last longer. Prepare the stems by trimming any excess leaves and damaged petals. If the flower will be placed in a container with water, cut the bottom of the stems with a diagonal cut to ensure proper water absorption as this will prevent them from falling flat against the bottom of the vase, cutting off water flow.
Step #3: Choosing the container

Photo by cottonbro from Pexels
Make sure your vase is clean and will be able to support the flower you have chosen. For example, tall vases will be able to hold flowers for roses and lilies while short round bottom ones are good for daisies and carnations.
You can also use floral foam, tape or wires to ensure the flowers remain together.
Step #4: Creating the base

Photo by Teona Swift from Pexels
Eucalyptus, Ivy, and fern leaves can be used as good bases with greeneries to build your bouquet. Create an inverted triangular shape to ensure both a horizontal and vertical presence.
Step #5: Adding the flowers

Photo by cottonbro from Pexels
Once you have created the base and shape, start with the focal flowers. Build around the focal flowers and layer them with filler flowers.
Step#6: Maintenance of the flowers

Photo by cottonbro from Pexels
Once in a while, remove your flowers from the vase and snip 1/2 to 1 inch off the stems at an angle. Fill the vase with new water and add 3 drops bleach and 1 teaspoon sugar per 1 liter of water to prevent the growth of bacteria and keep the flower healthy.